Taxi Syntax is designed to give you precise control over how Email Design Systems are editable, whilst still maintaining the best experience for the copywriters and marketers who use the email editor.
This page includes a list of all supported Taxi Syntax tags and attributes. You can read more about each tag in our developer resources.
An <editable> tag should be wrapped around a piece of content in order to make it editable within the Taxi Editor. An <editable> tag must be inside a <module> tag.
If you wrap an editable tag around common types of content, Taxi will display the following fields:

<editable name="" label="">text</editable>
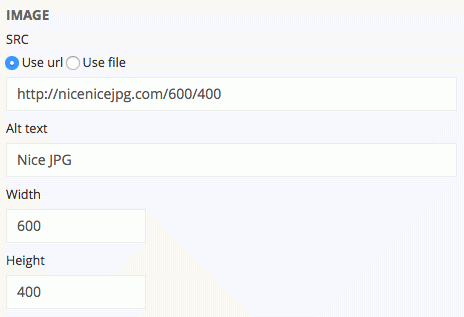
<editable name="" label=""><img src="http://nicenicejpg.com/600/400" width="600" height="400" style="display:block" border="0"></editable>
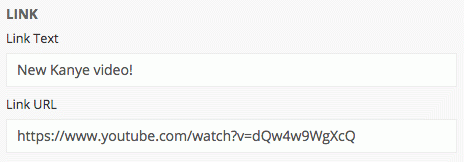
<editable name="" label=""><a href="">New Kanye video!</a></editable>
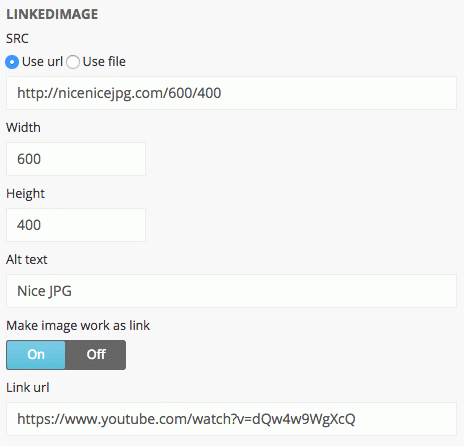
<editable name="" label=""><a href=""><img src="http://nicenicejpg.com/600/400" width="600" height="400" style="display:block" border="0"></a></editable>
If you include a field tag within the editable tag, then only the field tags you add will be displayed.
If you wrap an editable tag around anything else, the code inside the tag will be displayed as editable.
The name attribute is required to link content with content database. Names can only contain numbers, letters and underscores, and are case sensitive.
Label can be used to add a human-readable title in the editor. If it is not added, the value for name will be displayed. Labels may include spaces.
Additional help text can be added using the hint attribute. This text appears underneath the label or name in the editor.
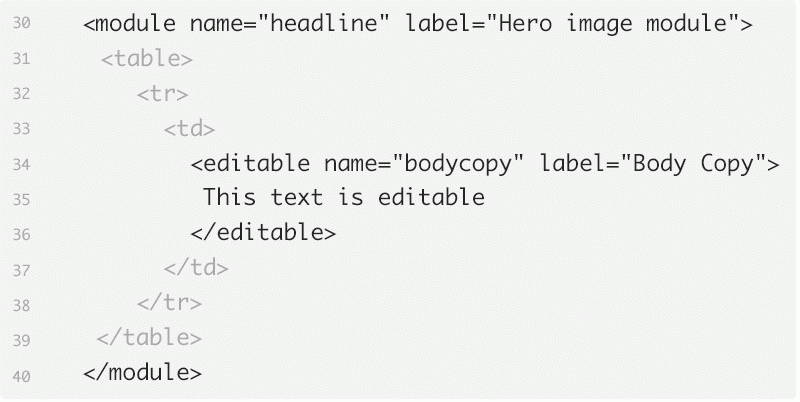
<editable name="" label="">
this text is editable
</editable>A <module> tag is used to group together editable pieces of content. They usually include at least one <editable> or <field> tag. Modules are always displayed when they are not within a Modulezone.
The name attribute is required to link content with content database. Names can only contain numbers, letters and underscores, and are case sensitive.
Label can be used to add a human-readable title in the editor. If it is not added, the value for name will be displayed. Labels may include spaces.
Additional help text can be added using the hint attribute. This text appears underneath the label or name in the editor.
<module name="" label="">
<editable name="" label="">
this text is editable
</editable>
</module>When a Module appears inside a Modulezone, the editor can add, remove and reorder it as they require. You can specifiy which modules are available within a Modulezone, by including it within the <modulezone> tag.
The direct child tag inside a <modulezone> tag should always be a <module> tag.
The name attribute is required to link content with content database. Names can only contain numbers, letters and underscores, and are case sensitive.
Label can be used to add a human-readable title in the editor. If it is not added, the value for name will be displayed. Labels may include spaces.
Additional help text can be added using the hint attribute. This text appears underneath the label or name in the editor.
<modulezone name="" label="">
<module name="" label="">
<editable name="" label="">
this text is editable
</editable>
</module>
<module name="" label="">
<editable name="" label="">
this text is editable
</editable>
</module>
</modulezone><field> tags can be used to get more granular control over the content being added by the editor. Examples of field types include color pickers, checkboxes and image upload.
A <field> tag can be included anywhere in the HTML document, but they are typically added at document level, or inside <module> or <editable> tags.
If a <field> tag is included within an <editable> tag, then Taxi won't auto generate any field tags, and will only display the fields you add. (See default fields).
The field tag must be closed (i.e. remember </field>)
The name attribute is required to link content with content database. Names can only contain numbers, letters and underscores, and are case sensitive.
If no type="" is added, the field will default to a text input.
Permitted values are: align, checkbox, code, color, href, number, src, text or text-field. Read more about field types.
Label can be used to add a human-readable title in the editor. If it is not added, the value for name will be displayed. Labels may include spaces.
Additional help text can be added using the hint attribute. This text appears underneath the label or name in the editor.
The default attribute can be used to specify a default value for the field.
To control which rich editable styles are available on a given rich text field, you can add the allow-styles attribute. Built in values are bold, italic, link and underline. You can also include the names of any custom styles you may have. Values are separated with a space and it supports as many as you like. This attribute can be set on an <editable> or a <field>.
<field name="fieldname" type="rich" allow-styles="bold italic link"></field>
This can be added to dropdown and color fields, to allow users to add their own content in addition to those specified using <choice> tags. Permitted values are true or false (default).
<field type="color" name="bgcolor" label="Background Color" default="#eaeaea" allow-custom="true">
<choice label="teal" value="#004752"></choice>
<choice label="green" value="#9EA900"></choice>
<choice label="dark grey" value="#353535"></choice>
</field>
This attribute can be added to any field to ensure the Brand field option is automatically ticked when you upload the Email Design System. This is useful when creating Brands.
<field name="my_field" type="src" subtemplate=""></field>
To apply this to multiple fields at once, you can add the attribute to an editable, module or the body of the email and Taxi will apply the logic to any field tag within.
In an image field you have the option to upload from file or URL by default. By adding allow-none="" to the field, it enables you to have a third option, this is to have a none option.
Below is an example of how this can be used. The first image field is what you get by default, the second one uses allow-none="". If the none option is selected, the img tag where this field is used will be removed. This will also work with rule elements.
<module name="image_examples">
<field type="src" name="not_using_allow_none" label="image 1"></field>
<field type="src" name="with_allow_none" allow-none="true" label="image 2"></field>
<img replace-src="{{without_allow_none}}"/>
<img replace-src="{{with_allow_none}}"/>
</module>
The choice tag can be used within dropdown or color fields when you want the user to be able to choose from pre set options.
The value attribute is required because when referencing the dropdown or color field, it is this what will be used in your HTML. Read more about applying fields in your Email Design System.
For example, when using a color dropdown, if the value of the choice you select is #ffffff, this hex code will be used wherever you reference the field.
The label is what will appear in the editor when using the dropdown. If there is no label in the choice tag then the value be used as the label and will appear in the editor.
<field type="color" name="bgcolor" label="Background Color" default="#ffffff" allow-custom="true">
<choice label="white" value="#ffffff"></choice>
<choice label="black" value="#000000"></choice>
<choice label="red" value="#FF0000"></choice>
<choice label="blue" value="#0000FF"></choice>
</field>The <content> tag is a self destructing tag - at export the tag is removed, but any content it contains remains. It is useful if you need to apply content or a rule to a certain area, and don't have any other tags that can contain a replace="" or rule="" attribute.
<content rule="{% remove_unless navtext1 %}"> | </content>A replace="" attribute tells Taxi to replace the contents of an element with the value of this attribute.
<field type="text" name="linkText" label="Link text" default="Click here"></field>
<a href="http://google.com" replace="{{linkText}}">Placeholder text</a>The replace-<attributename>="" attribute tells Taxi to replace the contents of an HTML attribute with the value of this attribute. It is used to specify where the value from a <field> tag should be applied.
<field type="color" name="bgcolor" label="Background Color" default="#eaeaea"></field>
<table bgcolor="#efefef" replace-bgcolor="{{bgcolor}}">
...
</table>The rule attribute tells Taxi to evaluate the contents of this attribute and execute any rule commands found. It is commonly used to show or hide the contents of a tag, depending on the status of a checkbox field, or whether another given field has content or not.
Read more about how the rule attribute works.
<table rule="{% remove_unless editables.headline.content %}">
...
</table>This tag can be wrapped around any content you want Taxi to ignore when it automatically generates the plain text version.
<html-version-only>
This text only shows in the HTML version
(not the plain text version)
</html-version-only>This tag can be used to add content that only appears in the plain text version.
We recommend combining this with the content tag, and/or using display-none;, in order to hide the content when viewing the HTML before it is loaded into Taxi.
<text-version-only>
<content replace="this content only appears in the plain text version"></content>
</text-version-only>

<text-version-only style="display:none;">
Unsubscribe: <$unsubscribe$>
</text-version-only>Everything between the <escape> and </escape> tags is quarantined by Taxi when the Design System is uploaded and put back into the document at the last stage of export. It is not shown in the editor.
The <escape> tag is useful for hiding code that may be broken until it is processed by your email platform.
This tag and all content inside it will be removed at export. It is effectively the opposite of the <escape> tag.
These tags can be used to remove HTML from the top and bottom of an email at point of export. The start tag should be added at the point where the exported code should start (when "Remove Headesr & Footers" is ticked at export). The two tags don't have to be used in a semantic manner.
These tags can be useful if, for example, your ESP loads in headers and footers separately, so you only need to export the middle piece of the code.
(Support for this feature has to be requested)